Book Binding for Beginners: Make a Small Sewn Notebook
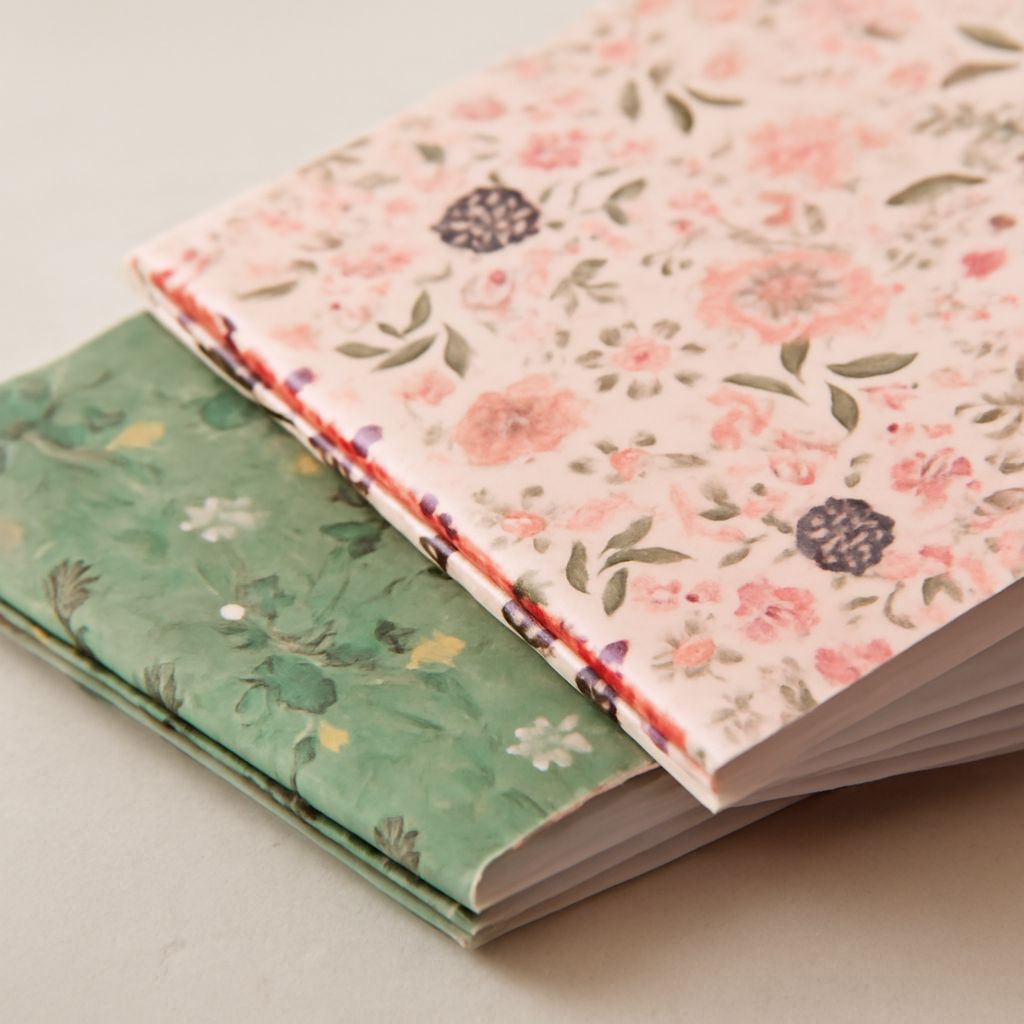
Fold a few sheets of paper in half, and you have the beginning of a notebook. Binding your own book can be as simple as sewing through that fold. For a first project in binding books, use a single group of folded sheets and a cover cut from card stock.
The method below makes a slim notebook about 5 1/2 by 8 1/2 inches. It opens comfortably for notes, sketches, or a short piece of your own writing. You need no press or special glue, and you can finish it at a table in an afternoon.
Bookbinding: Choose a Method
A three-hole pamphlet stitch joins the cover and pages with one length of thread. It suits a small notebook because the pages form one folded group, called a signature. Stapling along the fold is quicker, though a regular desk stapler may not reach the center. A glued pad is also easy to make, but its sheets tear away and it does not open like a sewn notebook.
For a thicker journal, several signatures can be sewn together and attached to a cover. That construction takes more planning, but it spreads the bulk across several folds. Try the single-signature version first; its visible stitches show how the pages are held. Binding a book this way also makes repairs simple.
Gather and Fold
You will need five sheets of 8 1/2-by-11-inch paper, one sheet of card stock the same size, a ruler, a pencil, an awl or a large needle, a sewing needle, and about 24 inches of strong thread. A bone folder helps sharpen folds; the rounded edge of a spoon works too. Place a scrap of cardboard under the work when making holes.
Ordinary printer paper makes a good first set of pages. Choose heavier paper for drawing or ink, but test a fold: stiff sheets crowd the spine and may make the notebook hard to close. The card stock protects the pages while remaining flexible enough to fold. For binding books at home, use paper that folds without cracking. For this book binding DIY project, plain materials let you see each step clearly.
Fold each sheet in half separately, bringing the short edges together. Crease from the middle outward, then nest the sheets inside one another. Fold the card stock around them. This stack gives you 10 leaves, or 20 writable pages, counting both sides. The inner sheets will protrude slightly at the open edge; leave them as they are or trim them carefully after sewing.
Mark and Pierce
Open the stack at its center and align the folds. Hold the pages and cover together with clips, keeping the clips away from the fold. On the inside crease, mark its midpoint at 4 1/4 inches, then mark two more points about 1 inch from each end. All three marks should lie on the fold.
Set the open stack on scrap cardboard. Pierce through each mark and the cover, keeping the tool upright and your other hand clear of its point. Make holes only large enough for the needle and thread. If the stack shifts, realign it before piercing the next hole; matching holes make sewing a book much easier. A handmade binding depends on those aligned folds.
Sew the Spine
Thread the needle with the 24-inch length. Leave the thread single and keep a tail of about 3 inches when you begin. Follow this path with the notebook open at its center:
- Push the needle from the inside through the center hole to the outside. Hold the tail inside.
- Bring the needle through an end hole to the inside.
- Cross the center and pass through the other end hole to the outside.
- Return through the center hole to the inside. Keep the needle from splitting the thread already in that hole.
- Pull both ends snug, so the long inside stitch lies flat. Place one end of the thread on each side of that stitch and tie them together in a square knot over it.
Trim the ends to about half an inch. Close the notebook and press the fold with your fingers. A little tension keeps the sheets together; pulling hard can tear the holes. This DIY bookbinding stitch can be undone and sewn again if the thread catches or the pages shift.
Finish and Use the Notebook
Check that every sheet sits inside the cover and turns freely. If you want a neat fore edge, mark a straight line with a ruler and trim a few sheets at a time with a craft knife and cutting mat. Keep the ruler firm and your fingers clear of the blade. You can also leave the stepped edge as a sign of the folded sheets.
For a handwritten story, use the first page as a title page and number the rest before you begin. A paper cover can take a label or a drawing. You can bind books at home in batches for gifts. This form of book binding works well for a thin booklet; for a notebook that must carry many more pages or endure frequent use, learn to sew several signatures and add a sturdier cover.
The most likely snag is loose thread. If the pages wobble or a stitch stands away from the fold, untie the knot, pull the thread gently through each hole until the stitches lie flat, and retie it. If a hole has torn, make a fresh fold with new paper and pierce smaller holes before sewing again.